The process of changing out e-liquid flavourings can be a tricky one if you’re not sure where to start.
Doing the wrong thing at this point can be a costly mistake that could end up muddying the flavour of your newly selected e-liquid. Additionally,
mixing up two different kinds of vape juices could cause an imbalance in viscosity which might burn your coils out faster.
More spoilt juice and wasted coils means more money goes down the drain - but don’t fear because it doesn’t have to be this way!
We’re here to break down what steps you should follow to ensure you always get the fullest flavour from your new e-liquid and
avoid unnecessary issues when making a change.
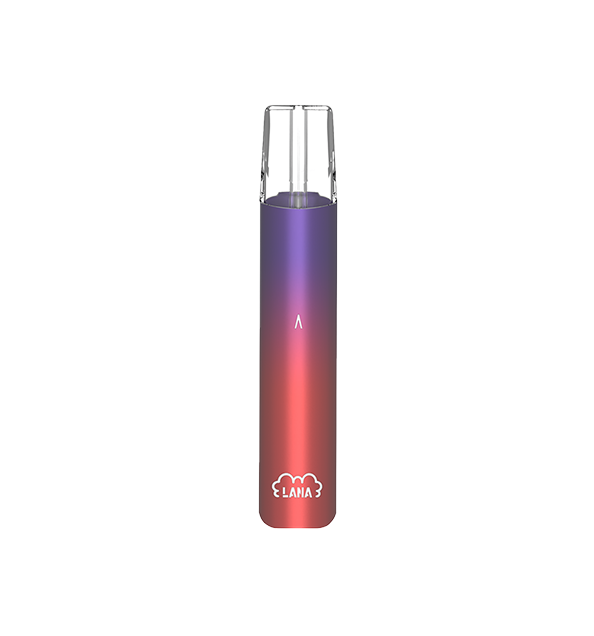
This guide will apply to standard MTL tanks, sub-ohm tanks, and pod devices too.
Cleaning Tank or Pod
It’s an essential step to clean your tank when changing out vape juice. E-liquid can often be quite thick depending on the VG/PG balance,
(a higher VG will likely be very thick) so it’s great to give the tanks a clean so you get all the residue out of the chamber before adding a new flavour.
We’ve got a blog post on why and how to deeply clean your tank here. But if you’d just like a quick rundown of some basic steps,
you can check out these two procedures below to get the level of cleanliness you’re looking for.
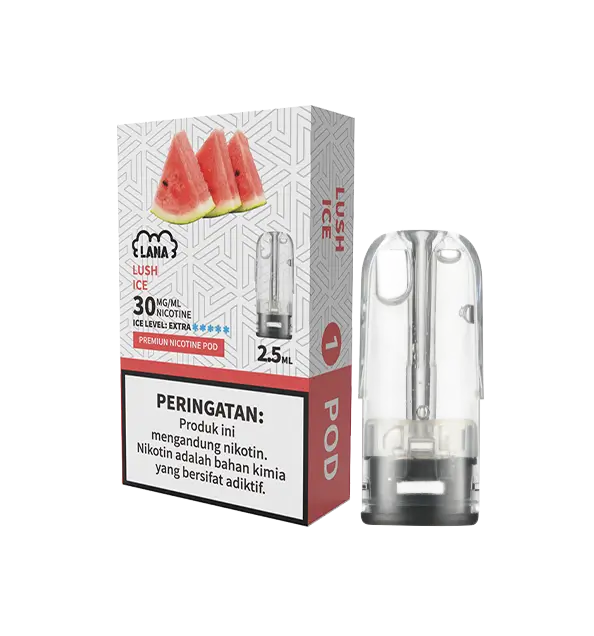
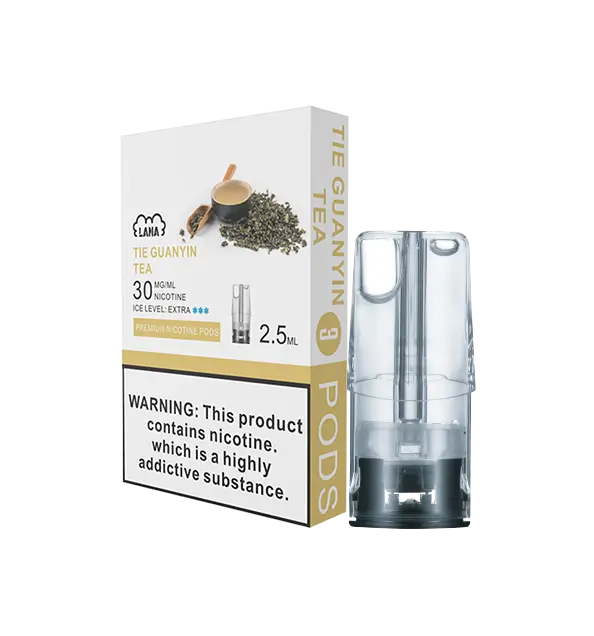
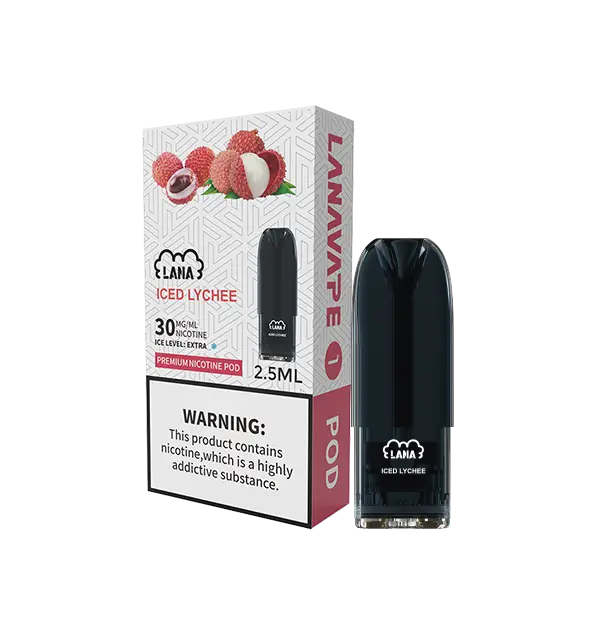
Note: when using a pod with built-in coils, you should simply replace the pod entirely; this will stop any ruination of flavours.
If you're using a pod device, it's best to carry around some extra pods and switch them out when you feel like trying something new.
A Straightforward Clean
Detach tank from your mod
Discard any residual e-liquid in the tank or pod
Completely disassemble your tank
Place all components into a bowl and wash until the water is clear (if the tank is really polluted, some dish soap will help)
Dry off and leave to air-dry for about 20 minutes
A Deep Clean
Detach tank or pod from your mod
Dispose of any remaining e-liquid in the tank
Completely disassemble your tank or pod and dispose of the coil
Dampen a cloth or paper towel with alcohol (70 isopropyl alcohol & high-proof and non-flavoured vodka works best as a solvent to break down e-liquid deposits)
and scrub any tough areas until the tank is completely clean
Wipe and rinse with warm soapy water until it runs clear
Leave to air-dry for 20 minutes
Changing & Priming your Coils
Priming your coils should always be the first thing you do when you’re putting a new one in. Without adding juice to your coils before you insert it into your atomizer,
can instantly ruin your coils and produce a “dry burn” (also known as the unpleasant taste that no vaper wants to experience).
By simply priming your coils, you are ensuring that they are covered in juice to stop this from happening.
And don’t worry - a full bottle of e-liquid is not necessary when priming your coils, a simple 3-5 drops of e-liquid should do the trick!
You can almost instantly burn your coils before you even begin to use them if you don’t completely soak and prime your coils beforehand.
We recommend waiting between 5-10 minutes after you fill your tank up before you start vaping to ensure that all areas of your coils are completely primed and ready.
If you don’t prime your coil correctly, this can result in completely ruining it before you even use it! This is a process that should be followed when switching out new meshed coils,
and when adding new pods to any pod vape kits you may have.
When you’re changing e-liquids, you should always use a new coil, because you shouldn't wash out the previous vape juice that’s soaked into the wicking material.
Adding new liquids without changing coils will mix the two liquids that can change the flavours and contribute to visocity problems that cause the coils to burn out before they should.
Adding new liquids at this stage will muddle with the previous juice. However, this imbalance will typically disapate after 3-4 full tanks of the new liquid - given that the coil doesn't burn out first.
Depending on how often you use your device, you will need to change your coils regularly to ensure the best performance from your device.
We recommend changing the vape coil every 1-2 weeks to retain flavour and performance. For the most part, you will be able to tell when the coil needs changing.
For instance, the e-liquid flavour may become less prominent and taste less rich, or you may not get the same hit you did previously, or you may be producing less vapour than before.
We have a wide range of coils available on our website for you to choose from, and changing them over is relatively simple. Unsure of when you need to change your coils?
Read more about how you can know here! This will entirely depend on the device that you are using, but generally speaking,
you just need to remove the tank from the device and discard the remaining e-liquid. Unscrew the coil from the tank and screw on the new one.
Once you have reattached your tank, you are ready to go.

