Over time, the elements in a coil can become clogged and dirty. Likewise, activating your vape whilst the wicking material is not saturated with liquid can cause the material to burn.
This is when it's time to switch it out with a new coil.
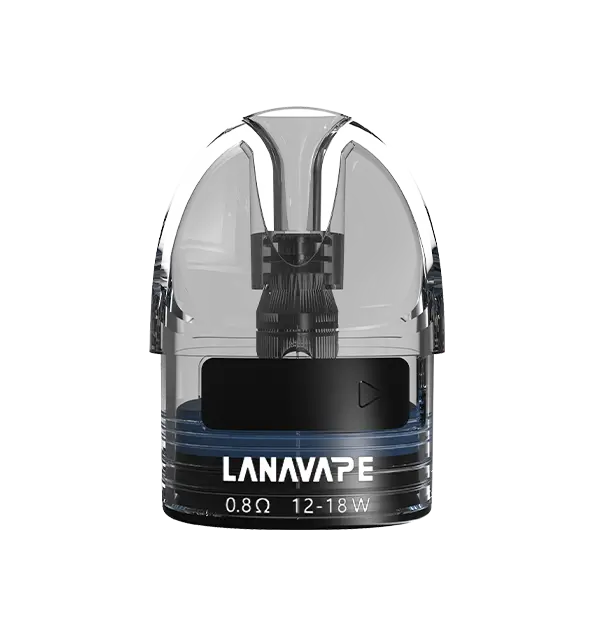
If you look closely at your coil, you will see some holes in the outer metal casing. These holes are there to let the liquid into the coil and you should be able to see the cotton through the holes.
Does it look a bit brown and dirty? It might well be that your coil has burnt out and needs replacing.
How Long Does a Vape Coil Last?
There is no finite time that a coil will last before it needs changing. The vape liquid you are using and how heavily or frequently you vape can affect their longevity.
Additionally, some coils last longer than others due to their build quality.
As a rough guide, coils tend to last between 1 and 3 weeks, depending on the above variables.
How to Change a Coil
This can vary somewhat between devices but many kits and tanks now feature push-fit coils that are changed from the bottom of the tank or pod.
These are often preferable because it means you don't have to touch the messy, liquid soaked part of the coil. All devices vary a little so it's a best to check the instructions included with your tank or device. However, here is a quick guide to how to change the coil based on which type of fitting your coil has.
If your kit/tank features push fit coils
Remove the tank from the battery or mod, then unscrew the bottom part of the tank (if applicable). Grip the bottom section of the coil and pull it out from the base.
You can then dispose of this coil and insert a fresh one.
Examples of devices that feature this type of coil fitting: Innokin Endura T18 E/T18 II, Aspire Onixx, Innokin Adept
If your kit/tank features screw-in coils
Most devices with screw in coils require you to remove the top section of the tank, remove the tank glass then grip the coil and unscrew it from the base.
You may want to use some tissue to avoid getting e liquid on your fingers. You can then screw in a fresh coil and replace the tank glass and top section.
Examples of devices that feature this type of coil fitting: Aspire K2 Quick Start Kit, Aspire PockeX
Always Make Sure to Prime a New Coil
Priming your coil essentially means giving it enough time for the wicking material to become fully saturated in liquid. If you don't do this,
you'll burn the wicking material and will have to throw your brand new coil away!
To prime a coil, simply fill your tank with liquid once you've replaced the coil, then allow it to sit for at least 5 minutes before vaping.
It may be best to leave it to sit for around 10 minutes if you are using a high VG e liquid, as these juices are thicker and take longer to soak into the wick. You can find further information about priming coils here.
How to Make Your Coils Last Longer
Your Prime Coils
When you've just put a fresh coil in your tank, always fill the tank then leave it to sit for at least 5 minutes before vaping.
This is called 'priming' and if you don't do this, you'll burn the wicking material and you'll have to throw your brand new coil away.
You can also take some further steps to make sure your coil is properly primed.
Allow Time For The Liquid To Saturate Between Vaping
Try not to take too many drags on your vape in quick succession or take too many long drags one after another.
You need to allow time for the coil to soak up more liquid, otherwise you risk firing the device when there is not enough vape juice in the wick and burning it.
Clean Your Coils
You don't have to do this, but doing so will help your coils last longer. You might also find this helpful if you're switching to a new flavour, to remove residue of the e liquid you previously had in your tank.
The quickest and easiest way to clean your coils is to give them a good rinse with hot water. You then need to leave the coil plenty of time to try out fully.
For a more thorough clean, you can soak them in vodka or vinegar for a couple of hours, then rinse well with hot water and leave to dry. You can speed up the drying by blowing down through the top, open section of the coil. This will force the water out towards the wicking holes in the coil.
As mentioned above, you don't have to clean your coils and many vapers don't bother, but this will help to get more out of them and save you money in the long run.
Use the Correct PG/VG Ratio for Your Coils
It's important to know a little about the different types of e liquid and how different ratios of ingredients work with different coil resistances.
You can find out more about PG & VG in this guide, but here is a quick summary:
All coils will have an ohm rating. You can use this to work out which vape liquids will be best suited.
Coils at 1 ohm and above: We recommend vape liquids with at least 50% PG (propylene glycol)
Coils below 1 ohm: We recommend vape liquids with at least 50% VG (vegetable glycerine)
Vape liquids with a 50/50 PG/VG ratio tend to work well with most coils and are therefore the most versatile e liquid option.
Coils with very low ohm ratings (0.3 ohm & below) however, will likely need a higher VG content.
Use Vape Liquids with a Lower VG Percentage
Thicker e liquids (a.k.a. higher 'VG' vape juices), and those with a higher sweetener content tend to clog coils up more frequently.
You may find that switching to a lower VG liquid makes your coils last longer. However, as explained above, do check the ohm rating for your coils beforehand as they may only be suitable for higher VG liquids.

